Stop Guessing If Your New Windows Really Perform
New windows are sold on big promises about comfort, energy savings and warm rooms. On site, you are the one who has to prove those promises are real. Homeowners, landlords and commercial clients are asking sharper questions, and they are far more aware of things like U-values and air leakage than they used to be.
The problem is that glossy brochure figures do not always match what happens on a live job. Once you bring frames, glass units, packers and sealants together, small choices and small mistakes can quietly eat away at performance. That is where simple checks like thermal imaging, airtightness tests and quick spot tests after install can help. They are low-disruption, easy to explain to clients and can protect your margin by cutting down on callbacks when the heating goes on.
Why Energy Ratings Alone Are Not Enough
Manufacturer energy ratings are a good starting point, but they are not the whole story. They are based on controlled lab testing with:
- U-values for how much heat passes through the window
- G-values for solar gain through the glass
- Overall Window Energy Ratings under fixed, ideal conditions
On site, you are never working in a lab. Real homes and commercial buildings have quirks. Real installs have time pressure. That is where performance starts to drift. Common issues include:
- Gaps between frame and wall that are not fully sealed
- Expanding foam used in patches rather than as a complete, even band
- Thermal bridges at lintels, sills and cavity closers
- Packers or fixings placed so they create cold spots or twist the frame
The frame and glass still matter a lot, of course. A reliable energy-efficient window supplier can give you systems that are properly tested and compliant, so you start from a strong base. But performance is always a partnership. Good products plus good installation practice is what delivers what the brochure promised.
Using Thermal Imaging to Expose Hidden Heat Loss
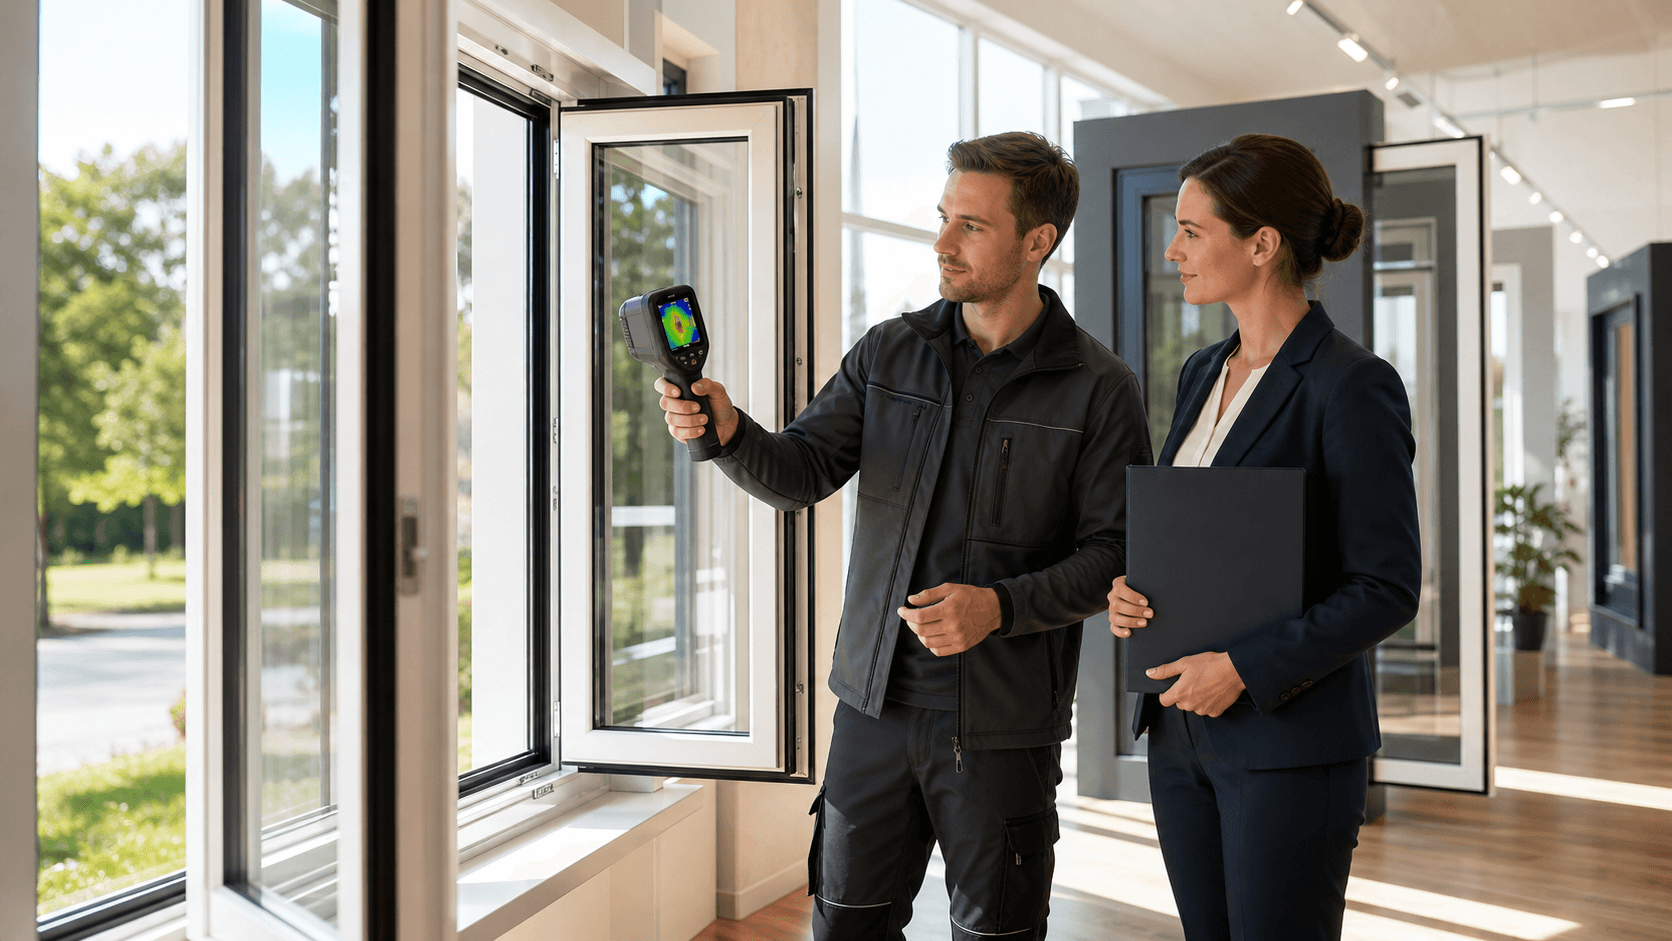
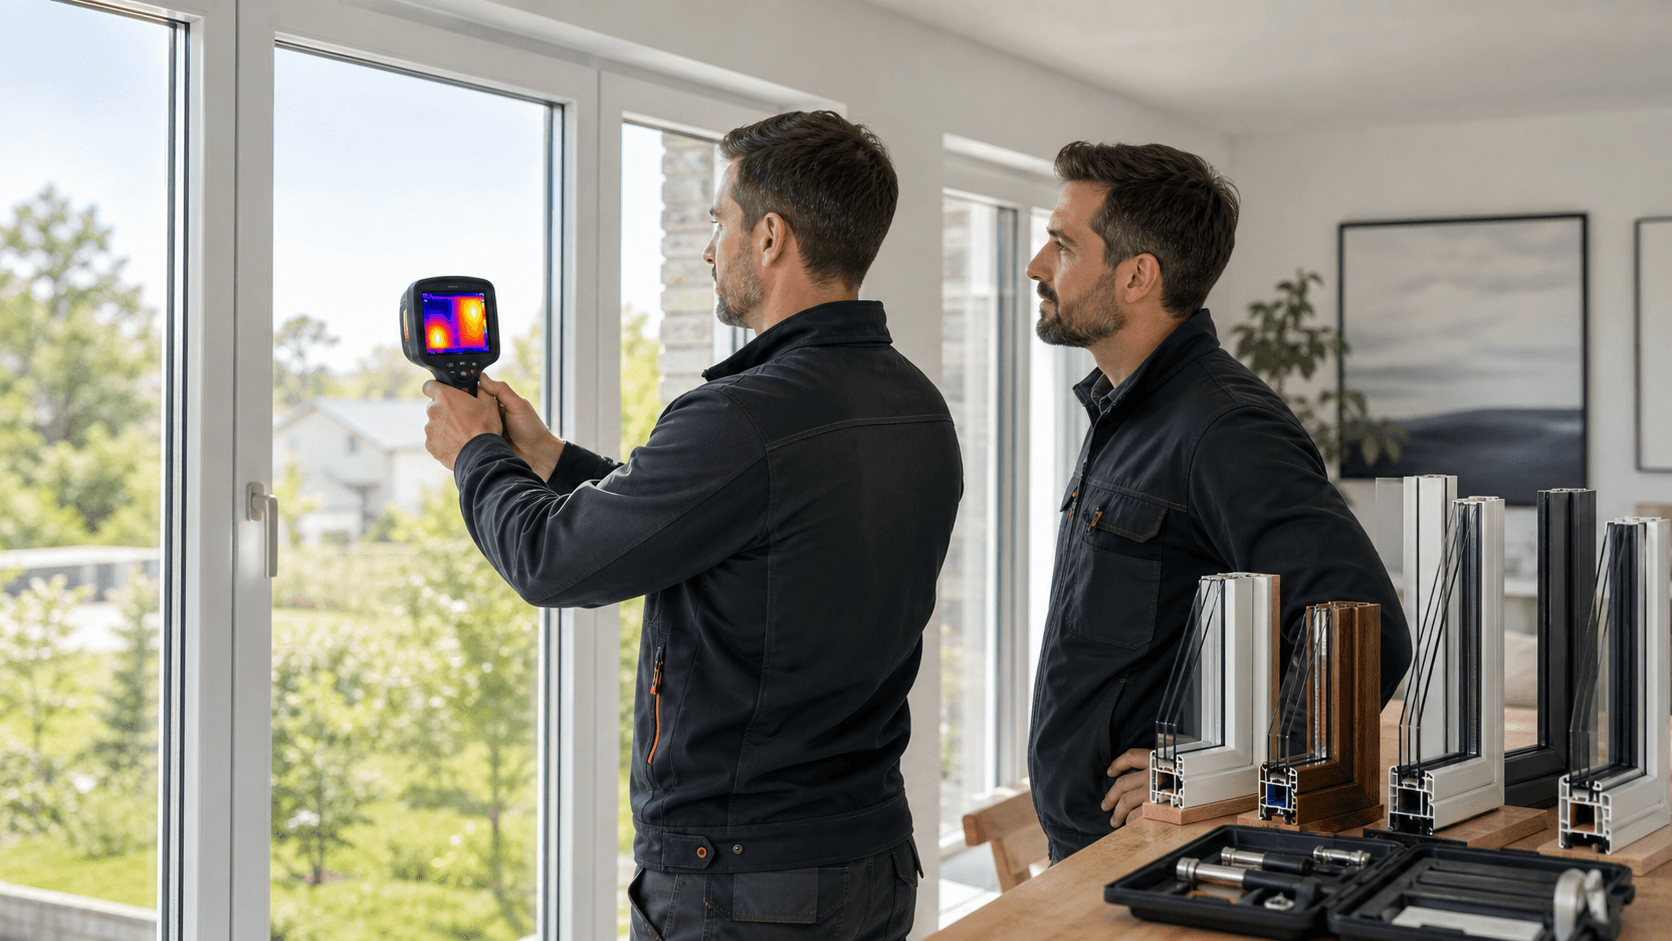
Thermal imaging cameras are a powerful way to see what the eye cannot. They pick up surface temperature, then show it as colour. On a window install this can quickly highlight:
- Cold edges around frames where air is sneaking in
- Cooler bands at sills or heads that flag thermal bridging
- Uneven temperature across a glass unit that could hint at an issue
For best results on a property:
- Choose a cool, still evening in autumn or winter
- Ask the client to run the heating so there is a clear temperature difference
- Open curtains and blinds
- Work around the building in a set pattern so you do not miss elevations
Start inside, then double-check from outside. Take clear photos that show whole elevations and close-ups of any suspect areas. Over time, you will learn to spot patterns, like a cold strip along a lintel that suggests missing insulation in the wall, compared with a sharp cold line tight to the frame that points at the perimeter seal.
Use the images as a record. Before-and-after shots can be very handy if you have come back to improve seals or adjust a sash. If you keep seeing odd temperature patterns in similar areas, it is worth speaking with your energy-efficient window supplier. They may be able to advise on frame choice, glazing spec or installation details that work better for that type of opening.
Airtightness Checks That Fit Into Site Workflow
Full blower-door tests are usually reserved for larger schemes and formal energy assessments. For most domestic jobs and small commercial work, that kind of kit is not practical on every install. You can still learn a lot from simpler checks that fit into your normal workflow.
Low-tech methods that work well include:
- Smoke pens or incense sticks held along the frame perimeter
- A simple handheld anemometer near joints and seals
- Back-of-hand checks to feel for movement of cold air
Focus on key junctions:
- Head and top corners, where movement often shows up first
- Jambs, especially near fixings
- Cills, including where trims meet masonry
- Trickle vents, to check they are working as planned, not whistling
When you do find draughts, have a clear plan. That might mean:
- Resealing internal and external perimeters where gaps are visible
- Adjusting hinges and keeps so the sash pulls evenly on the gasket
- Checking gasket compression all around, not just on the handle side
If you suspect the frame or sash is out of tolerance, record it with photos and brief notes. This makes it easier to agree a rectification route with your supplier, and it shows your client you are treating performance as seriously as the finish.
Quick Post-Install Spot Tests Your Clients Understand
Most clients do not speak in U-values and thermal bridging. They understand what they can see and feel. A few simple, safe spot tests at handover can make performance very real in their minds.
Useful examples include:
- Condensation pattern checks on cold mornings, to show how the new glazing behaves compared with older units nearby
- A candle or light tissue held near the frame to show the difference between old, draughty openings and new, sealed ones
- A simple hand test, moving from an old window to a new one so they can feel the change in surface temperature and draughts
Turn these into a little performance checklist you run through at the end of each job. Take quick photos or short clips on a phone and share them if the client is interested. It is not about hard selling, it is about giving reassurance. When you can clearly show improved comfort, it becomes easier to explain why a better spec frame or glazing option was worth choosing in the first place.
Handled well, this reduces disputes over comfort or energy bills later on. It also sets you apart as an installer who checks their work rather than just fitting and leaving.
Turn Evidence Into Differentiation This Heating Season
Bringing it all together, the goal is not to add loads of extra time to each job. It is to build a simple, repeatable validation routine that proves performance without fuss. For most installs that might look like:
- A quick thermal check on any tricky or exposed elevations
- Basic airtightness checks at key junctions using smoke or touch
- A short, client-friendly demo of how the new windows are performing
To support that, it is worth investing in practical tools and training. Renting or buying a small thermal camera, even a phone add-on type, can pay for itself in saved callbacks. Training your team to spot common faults and fix them on the spot will keep jobs moving and clients happy.
As a trade-focused energy-efficient window supplier based in the UK, we see daily how much difference that mix of good products and good validation makes. At Trade Window Warehouse we supply made-to-measure uPVC and aluminium windows, doors and rooflights at trade-focused terms and turnaround times that work for installers, builders and commercial projects. When product quality and on-site checks work together, you can head into the heating season confident that your installs really are performing the way your clients expect.
Get Started With Your Project Today
If you are ready to upgrade your home with high-performance glazing, we are here to help you choose the right options for your property. As an experienced energy-efficient window supplier, Trade Window Warehouse can advise on styles, finishes and security features to suit your budget and design goals. Tell us about your project and we will provide straightforward guidance and a clear quotation. To discuss your requirements, simply contact us and we will get back to you promptly.